{authorAvatar ?  : author?.[0]?.toUpperCase()}
Written by {author}
Last updated {formatDate(lastUpdated)}
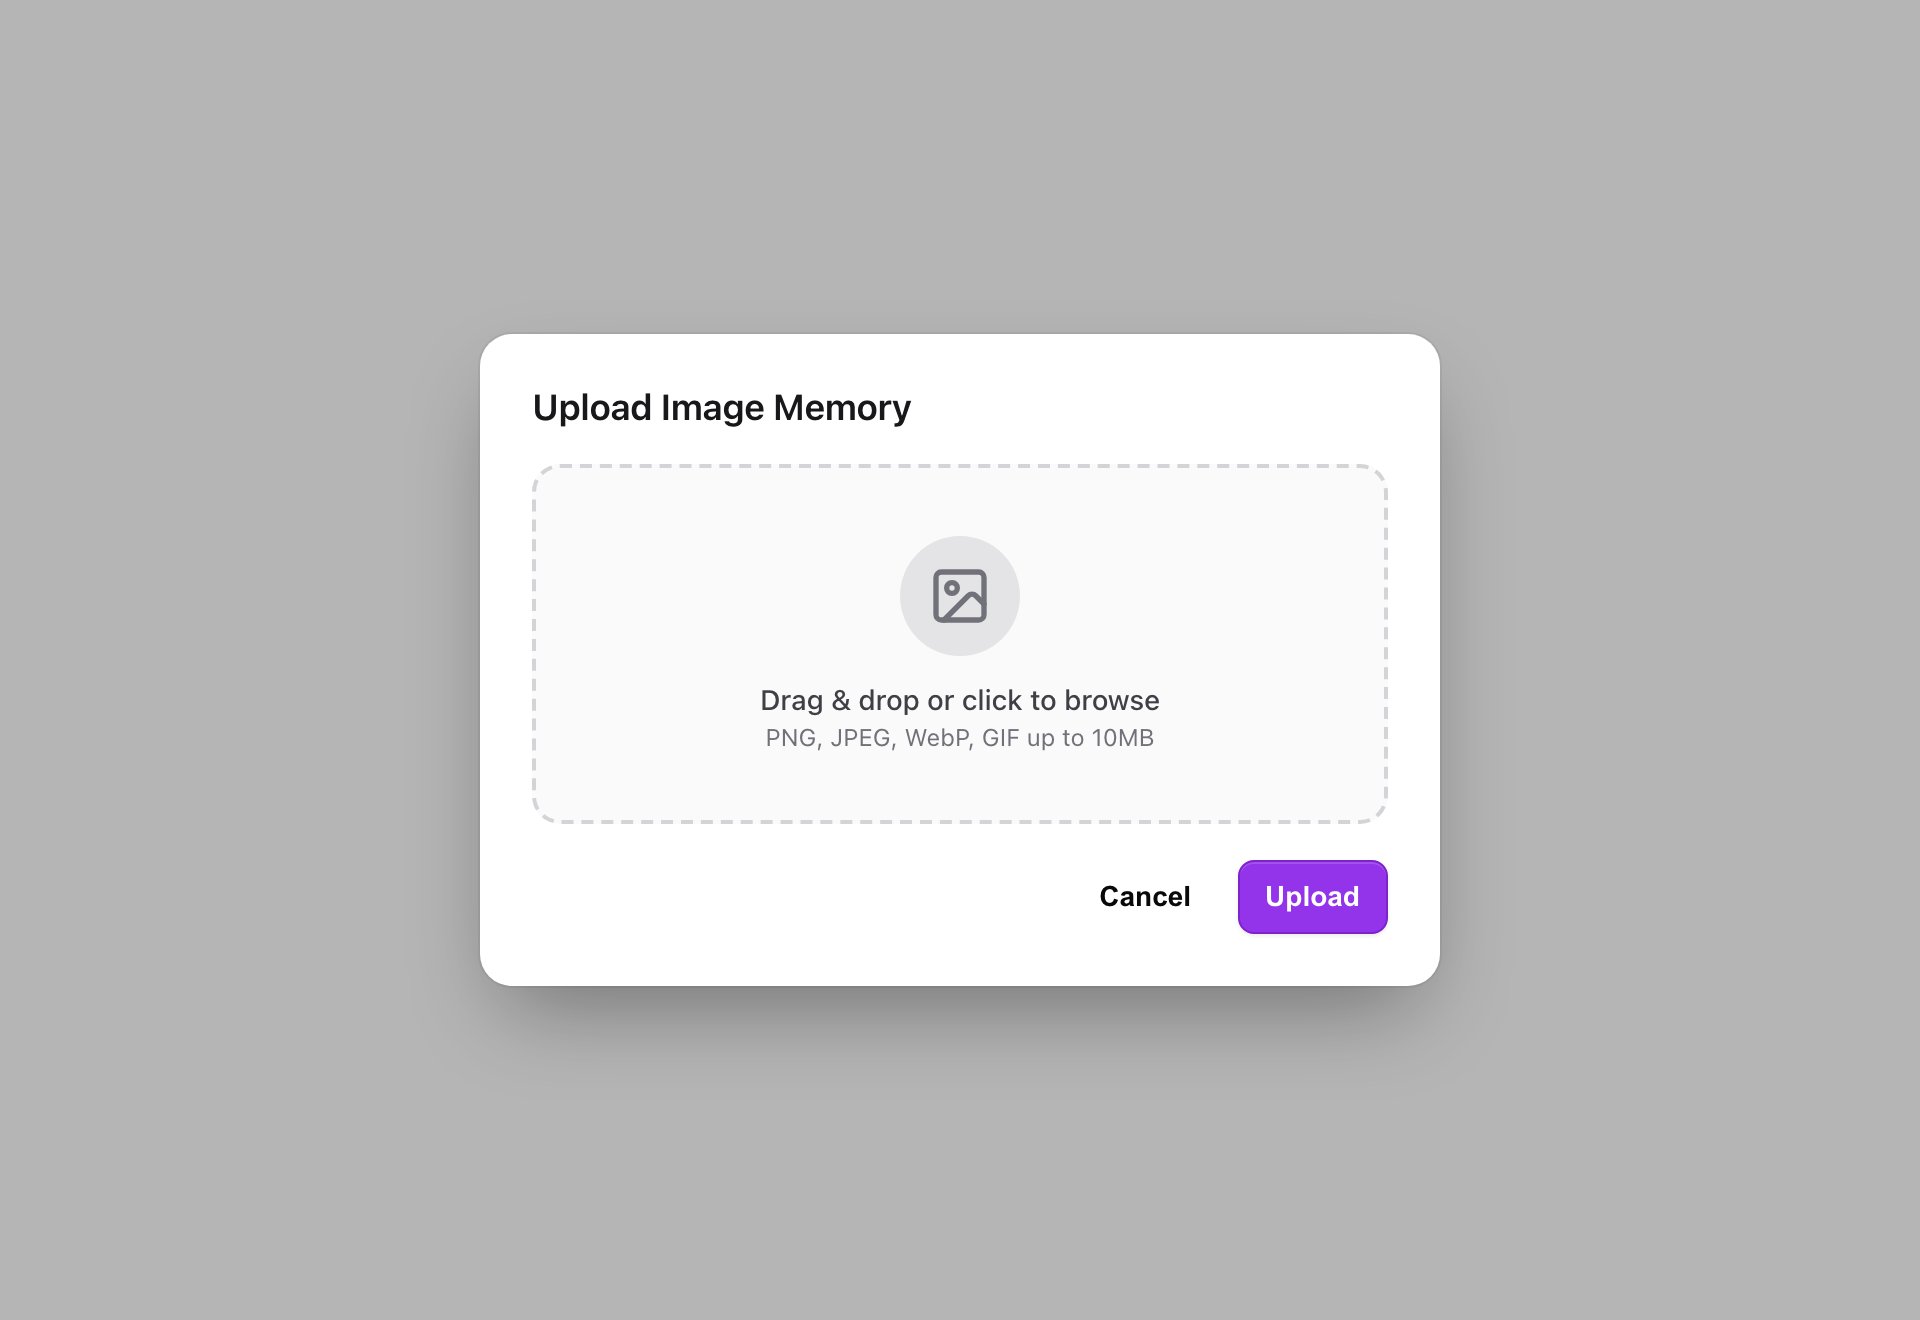 ### Supported formats
* **PNG, JPEG, WebP, GIF**
* Up to **10 MB** per image
Anything else is rejected with "Unsupported format. Allowed: PNG, JPEG, WebP, GIF", and files over the limit with "Image too large. Maximum: 10MB".
## The AI description, and why it takes a moment
Processing runs in the background. After you upload, MemoryPlugin kicks off a job that generates a description of the image and creates the vector embedding used for search. This is why you'll briefly see an **IMAGE** badge with "Generating description..." on the memory card. Once the job finishes, the description is attached and the memory is fully searchable.
If you typed your own description at upload time, that is stored right away. The AI-generated description fills in once processing completes.
## How recall serves an image
When a tool reads your memories through the API, an image memory comes back differently from a text one. Instead of plain text, it returns an object with three things:
* `content_type: "image"` so the client knows it's an image
* `image_url`, a signed link to the image file
* `image_description`, the text description used for recall
The `image_url` is a **signed link that expires after 4 hours**. That is deliberate: the link is meant to be used soon after it's handed out, not stored and reused indefinitely. If a client needs the image again later, it recalls the memory again and gets a fresh link. The `image_description` does not expire, so the AI can reason about what the image shows even without loading the file.
## Where image memories work, and where they don't
* **Dashboard only for now.** Image upload lives in the dashboard's Add Memory input. Save your images there.
* **Not in shared buckets yet.** Inside a bucket shared with you, the image button is disabled ("Image memories aren't supported in shared buckets yet"). Text memories are fine. See [Shared Buckets](/features/shared-buckets).
## Next steps
### Supported formats
* **PNG, JPEG, WebP, GIF**
* Up to **10 MB** per image
Anything else is rejected with "Unsupported format. Allowed: PNG, JPEG, WebP, GIF", and files over the limit with "Image too large. Maximum: 10MB".
## The AI description, and why it takes a moment
Processing runs in the background. After you upload, MemoryPlugin kicks off a job that generates a description of the image and creates the vector embedding used for search. This is why you'll briefly see an **IMAGE** badge with "Generating description..." on the memory card. Once the job finishes, the description is attached and the memory is fully searchable.
If you typed your own description at upload time, that is stored right away. The AI-generated description fills in once processing completes.
## How recall serves an image
When a tool reads your memories through the API, an image memory comes back differently from a text one. Instead of plain text, it returns an object with three things:
* `content_type: "image"` so the client knows it's an image
* `image_url`, a signed link to the image file
* `image_description`, the text description used for recall
The `image_url` is a **signed link that expires after 4 hours**. That is deliberate: the link is meant to be used soon after it's handed out, not stored and reused indefinitely. If a client needs the image again later, it recalls the memory again and gets a fresh link. The `image_description` does not expire, so the AI can reason about what the image shows even without loading the file.
## Where image memories work, and where they don't
* **Dashboard only for now.** Image upload lives in the dashboard's Add Memory input. Save your images there.
* **Not in shared buckets yet.** Inside a bucket shared with you, the image button is disabled ("Image memories aren't supported in shared buckets yet"). Text memories are fine. See [Shared Buckets](/features/shared-buckets).
## Next steps