> ## Documentation Index
> Fetch the complete documentation index at: https://help.memoryplugin.com/llms.txt
> Use this file to discover all available pages before exploring further.

# Quick Setup

> Set up MemoryPlugin in 3 simple steps and give your AI perfect memory

export const ArticleInfo = ({author, lastUpdated}) => {
  const authorAvatar = author === 'asad' ? '/images/author-asad.jpeg' : null;
  const formatDate = dateInput => {
    if (!dateInput) return '';
    if (typeof dateInput === 'string' && !dateInput.match(/^\d{4}-\d{2}-\d{2}/)) {
      return dateInput;
    }
    try {
      const date = new Date(dateInput);
      const now = new Date();
      const diffTime = Math.abs(now - date);
      const diffDays = Math.floor(diffTime / (1000 * 60 * 60 * 24));
      if (diffDays === 0) return 'today';
      if (diffDays === 1) return '1 day ago';
      if (diffDays < 7) return `${diffDays} days ago`;
      if (diffDays < 30) return `${Math.ceil(diffDays / 7)} week${Math.ceil(diffDays / 7) > 1 ? 's' : ''} ago`;
      if (diffDays < 365) return `${Math.ceil(diffDays / 30)} month${Math.ceil(diffDays / 30) > 1 ? 's' : ''} ago`;
      return `${Math.ceil(diffDays / 365)} year${Math.ceil(diffDays / 365) > 1 ? 's' : ''} ago`;
    } catch {
      return dateInput;
    }
  };
  return <div style={{
    display: "flex",
    alignItems: "center",
    gap: "8px",
    marginBottom: "16px",
    padding: "8px 12px",
    backgroundColor: "var(--ifm-color-emphasis-100)",
    borderRadius: "6px",
    fontSize: "14px",
    color: "var(--ifm-color-content-secondary)",
    border: "1px solid var(--ifm-color-emphasis-200)",
    opacity: "0.8"
  }}>
      <div style={{
    width: "40px",
    height: "40px",
    borderRadius: "50%",
    background: authorAvatar || "linear-gradient(45deg, #4F46E5, #7C3AED)",
    display: "flex",
    alignItems: "center",
    justifyContent: "center",
    color: "white",
    fontWeight: "bold",
    fontSize: "18px"
  }}>
        {authorAvatar ? <img src={authorAvatar} alt={author} style={{
    width: "100%",
    height: "100%",
    borderRadius: "50%"
  }} /> : author?.[0]?.toUpperCase()}
      </div>
      <div>
        <div style={{
    fontWeight: "400",
    fontSize: "14px"
  }}>Written by <span style={{
    fontWeight: "600"
  }}>{author}</span></div>
        <div style={{
    fontSize: "14px"
  }}>Last updated <span style={{
    fontWeight: "600"
  }}>{formatDate(lastUpdated)}</span></div>
      </div>
    </div>;
};

<ArticleInfo author="asad" lastUpdated="2026-03-24" />

Give your AI persistent memory, searchable chat history, and document access in just a few steps.

## Setup Steps

<Steps>
  <Step title="Create Your Account">
    Sign up at [memoryplugin.com](https://memoryplugin.com)

    You'll get:

    * Access to all integration methods
    * Your personal API key
    * Full dashboard for managing memories, chat history, and files

    <Info>
      Account email independence: Your MemoryPlugin sign‑in email does not need to match the email you use on ChatGPT, Claude, TypingMind, or any other tool. Access and permissions are tied to your MemoryPlugin account (and API key when applicable), not third‑party logins.
    </Info>
  </Step>

  <Step title="Choose Your Integration">
    Pick how you want to use MemoryPlugin.

    **[View all integration options →](/integrations/overview)**

    Most popular choices:

    * **Browser Extension** — Works with ChatGPT, Claude, Gemini, and 15+ platforms
    * **MCP Server** — For Claude Desktop, Cursor, Windsurf, and other MCP clients
    * **TypingMind Plugin** — Native integration with full feature support
  </Step>

  <Step title="Start Using Memory">
    Once installed:

    * **Browser Extension**: Click the MemoryPlugin button to activate memory in each chat
    * **MCP Server**: Your AI will automatically use MemoryPlugin tools
    * **TypingMind Plugin**: Ready to use immediately—just start chatting

    Your AI will save important information automatically and retrieve relevant context in future conversations.
  </Step>
</Steps>

## What You Can Do

<CardGroup cols={3}>
  <Card title="Save Memories" icon="brain" href="/features/memory-buckets">
    Store facts, preferences, and context your AI can recall anytime
  </Card>

  <Card title="Search Chat History" icon="clock-rotate-left" href="/features/chat-history/introduction">
    Import and query your past AI conversations from ChatGPT, Claude, and TypingMind
  </Card>

  <Card title="Query Documents" icon="folder-open" href="/features/file-buckets">
    Upload PDFs and docs to search alongside your memories
  </Card>
</CardGroup>

## Understanding AI Memory

### The Problem: AI Amnesia

Every time you start a new chat with ChatGPT, Claude, or any AI, it has no memory of your previous conversations. You're starting from scratch every single time.

<Warning>
  Without MemoryPlugin, you need to re-explain your context, preferences, and important details in every new conversation.
</Warning>

### The Solution: Persistent Memory

MemoryPlugin creates a memory layer that works across all AI platforms. Information you share once is remembered forever (or until you delete it). Plus, you can search your past conversations and uploaded documents.

## How It Works

<Tabs>
  <Tab title="Storing Memories">
    **Automatic Memory Creation**

    ```
    You: "I'm working on a React project using TypeScript and Tailwind CSS"
    AI: "I'll remember that for future conversations..."
    ```

    **Manual Memory Creation**

    ```
    You: "Remember that my dog's name is Max and he's a golden retriever"
    AI: "I've saved that to your memory..."
    ```
  </Tab>

  <Tab title="Using Memories">
    In a new conversation:

    ```
    You: "What kind of dog do I have?"
    AI: "You have a golden retriever named Max."
    ```

    The AI automatically retrieves relevant memories based on context.
  </Tab>

  <Tab title="Chat History">
    Search your past AI conversations:

    ```
    You: "What did I decide about the database migration last week?"
    AI: "Based on your chat history, you decided to use PostgreSQL and..."
    ```

    Works with conversations imported from ChatGPT, Claude, and TypingMind.
  </Tab>
</Tabs>

## Key Features

<AccordionGroup>
  <Accordion title="Memories" icon="brain">
    Save facts, preferences, project details, and anything you want your AI to remember. Organize into buckets for different contexts.
  </Accordion>

  <Accordion title="Chat History" icon="clock-rotate-left">
    Import your past AI conversations and search them. Ask questions about what you discussed, decisions you made, or patterns across conversations.
  </Accordion>

  <Accordion title="File Search" icon="file">
    Upload PDFs, Word docs, and text files. Query them through the Ask tool or directly from your AI via MCP or TypingMind plugin.
  </Accordion>

  <Accordion title="Cross-Platform Sync" icon="arrows-rotate">
    Memories, chat history, and files are available across all supported platforms. Save something in ChatGPT, use it in Claude.
  </Accordion>

  <Accordion title="Ask Tool" icon="messages">
    Query all your data from one place in the dashboard. Switch between Memories, Chat History, and Files modes.
  </Accordion>

  <Accordion title="Privacy First" icon="lock">
    Your data is private and only accessible by you. Full control to view, edit, or delete anytime.
  </Accordion>
</AccordionGroup>

## Common Questions

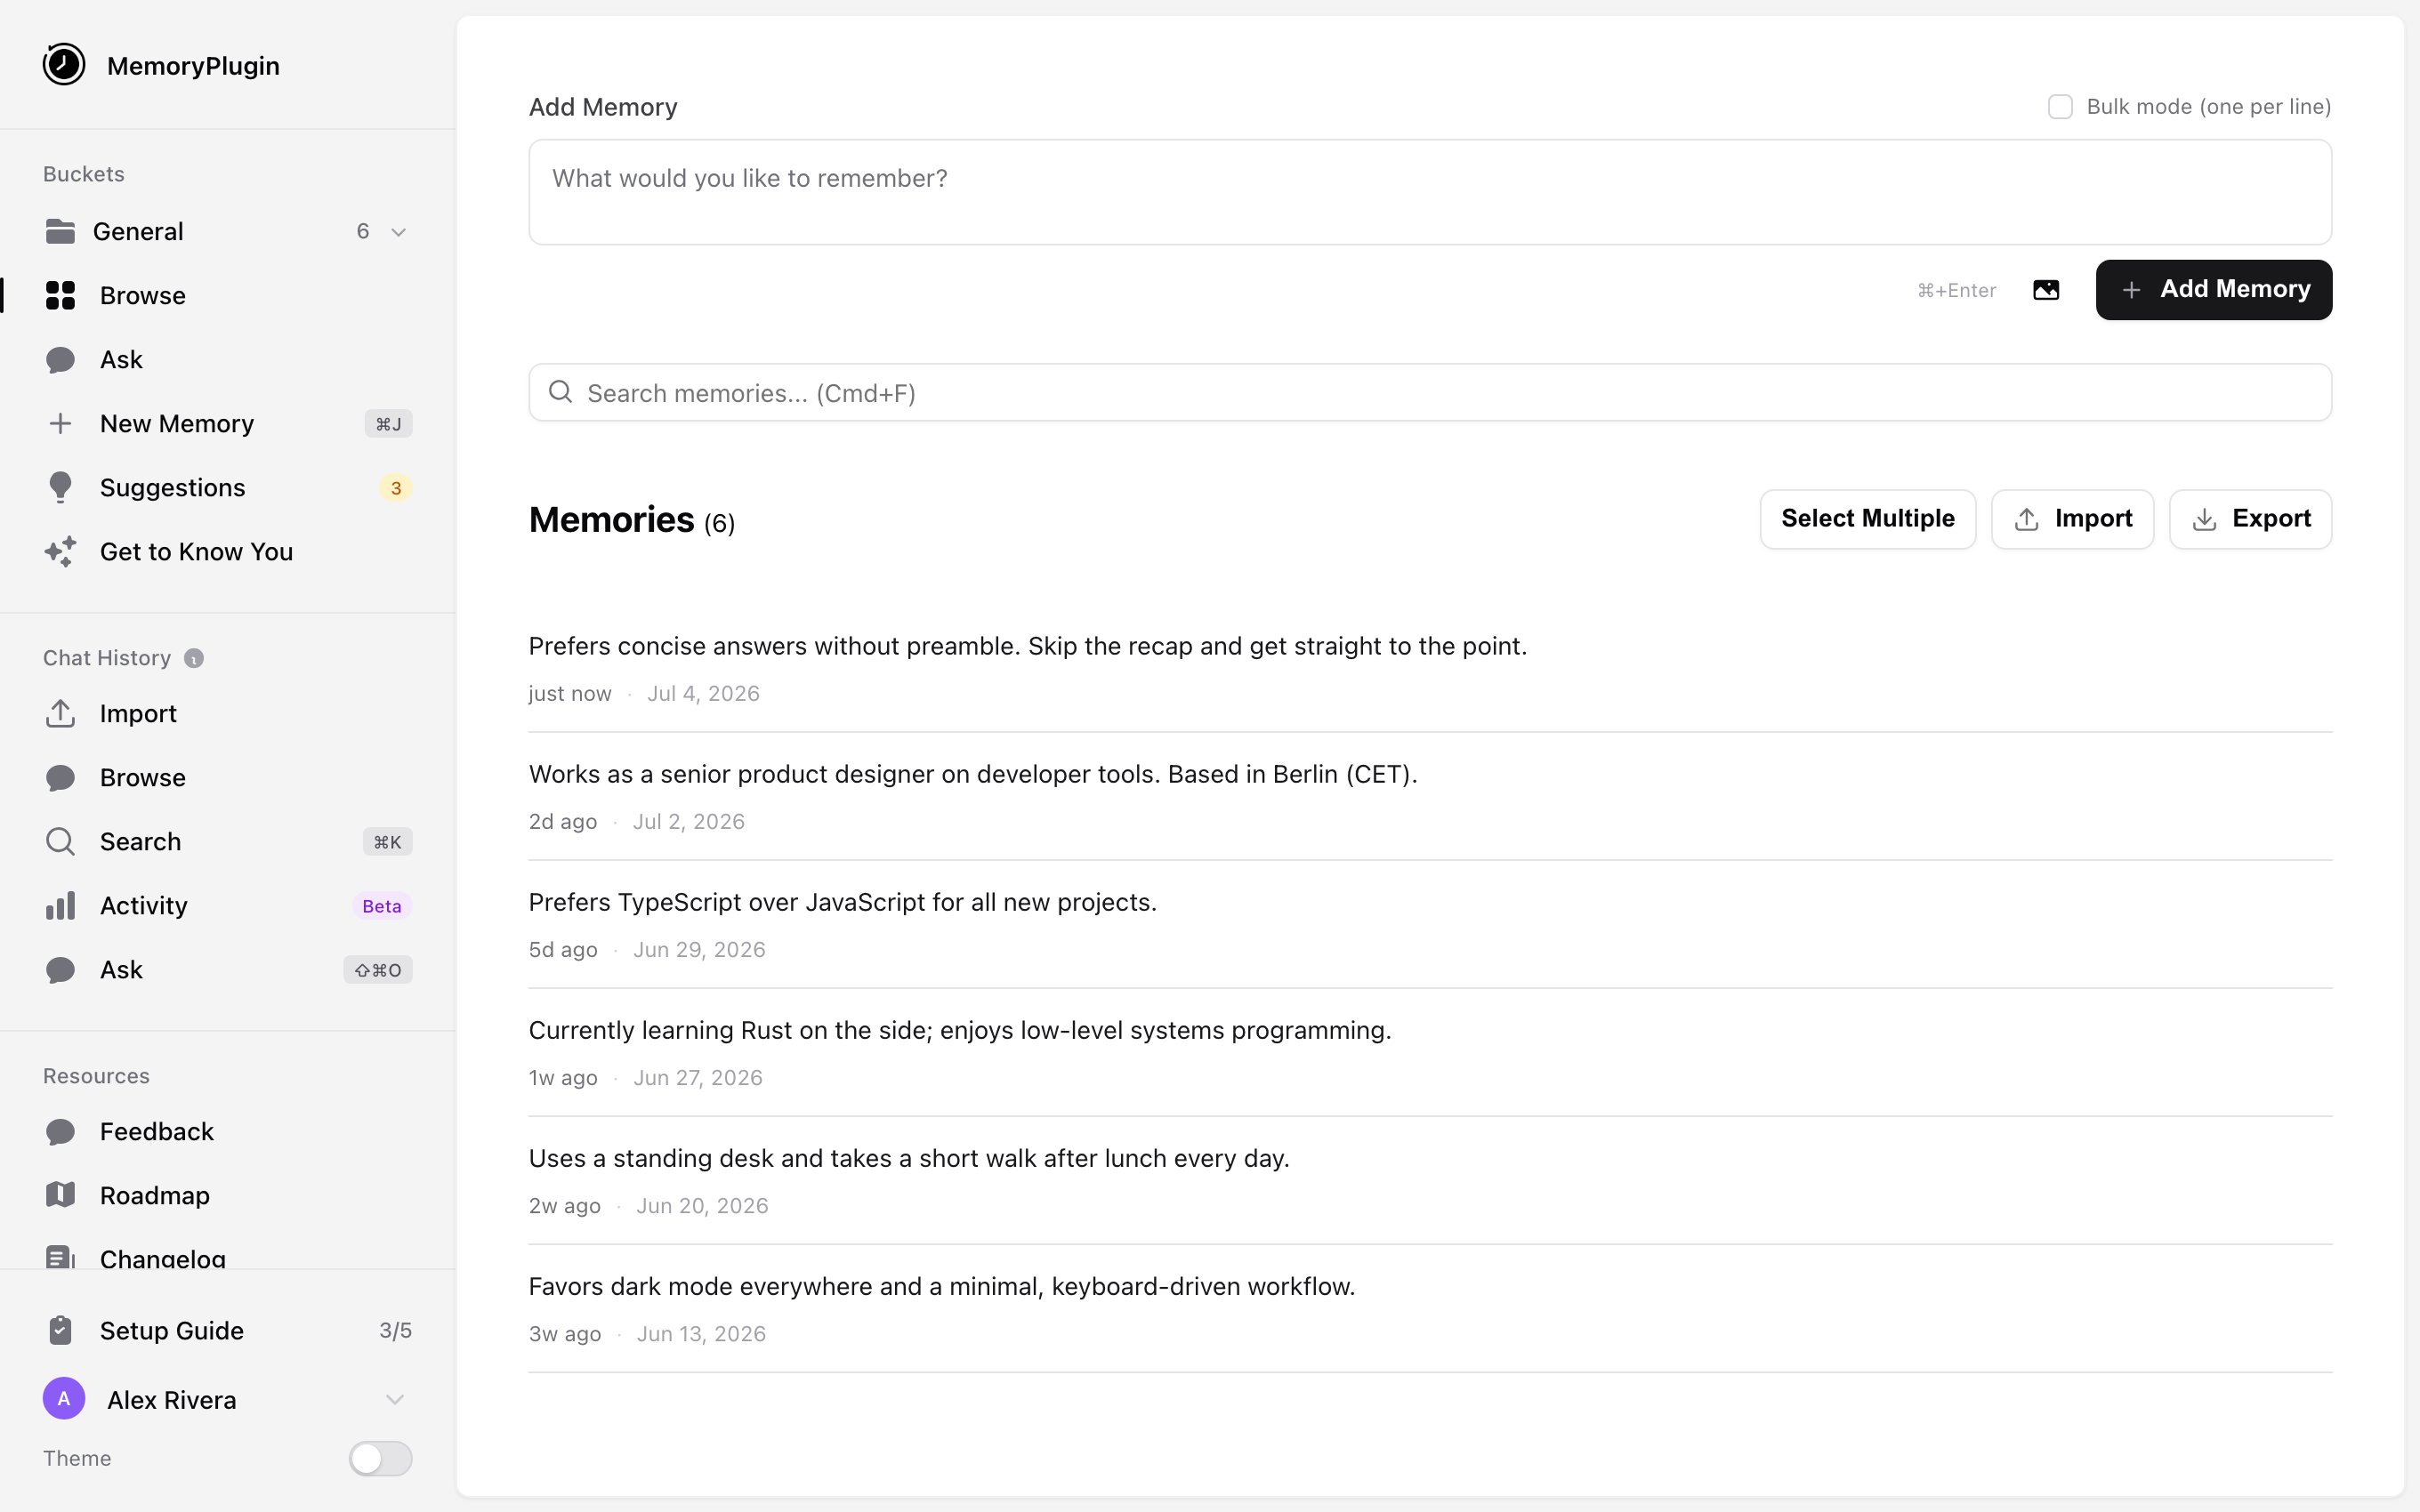
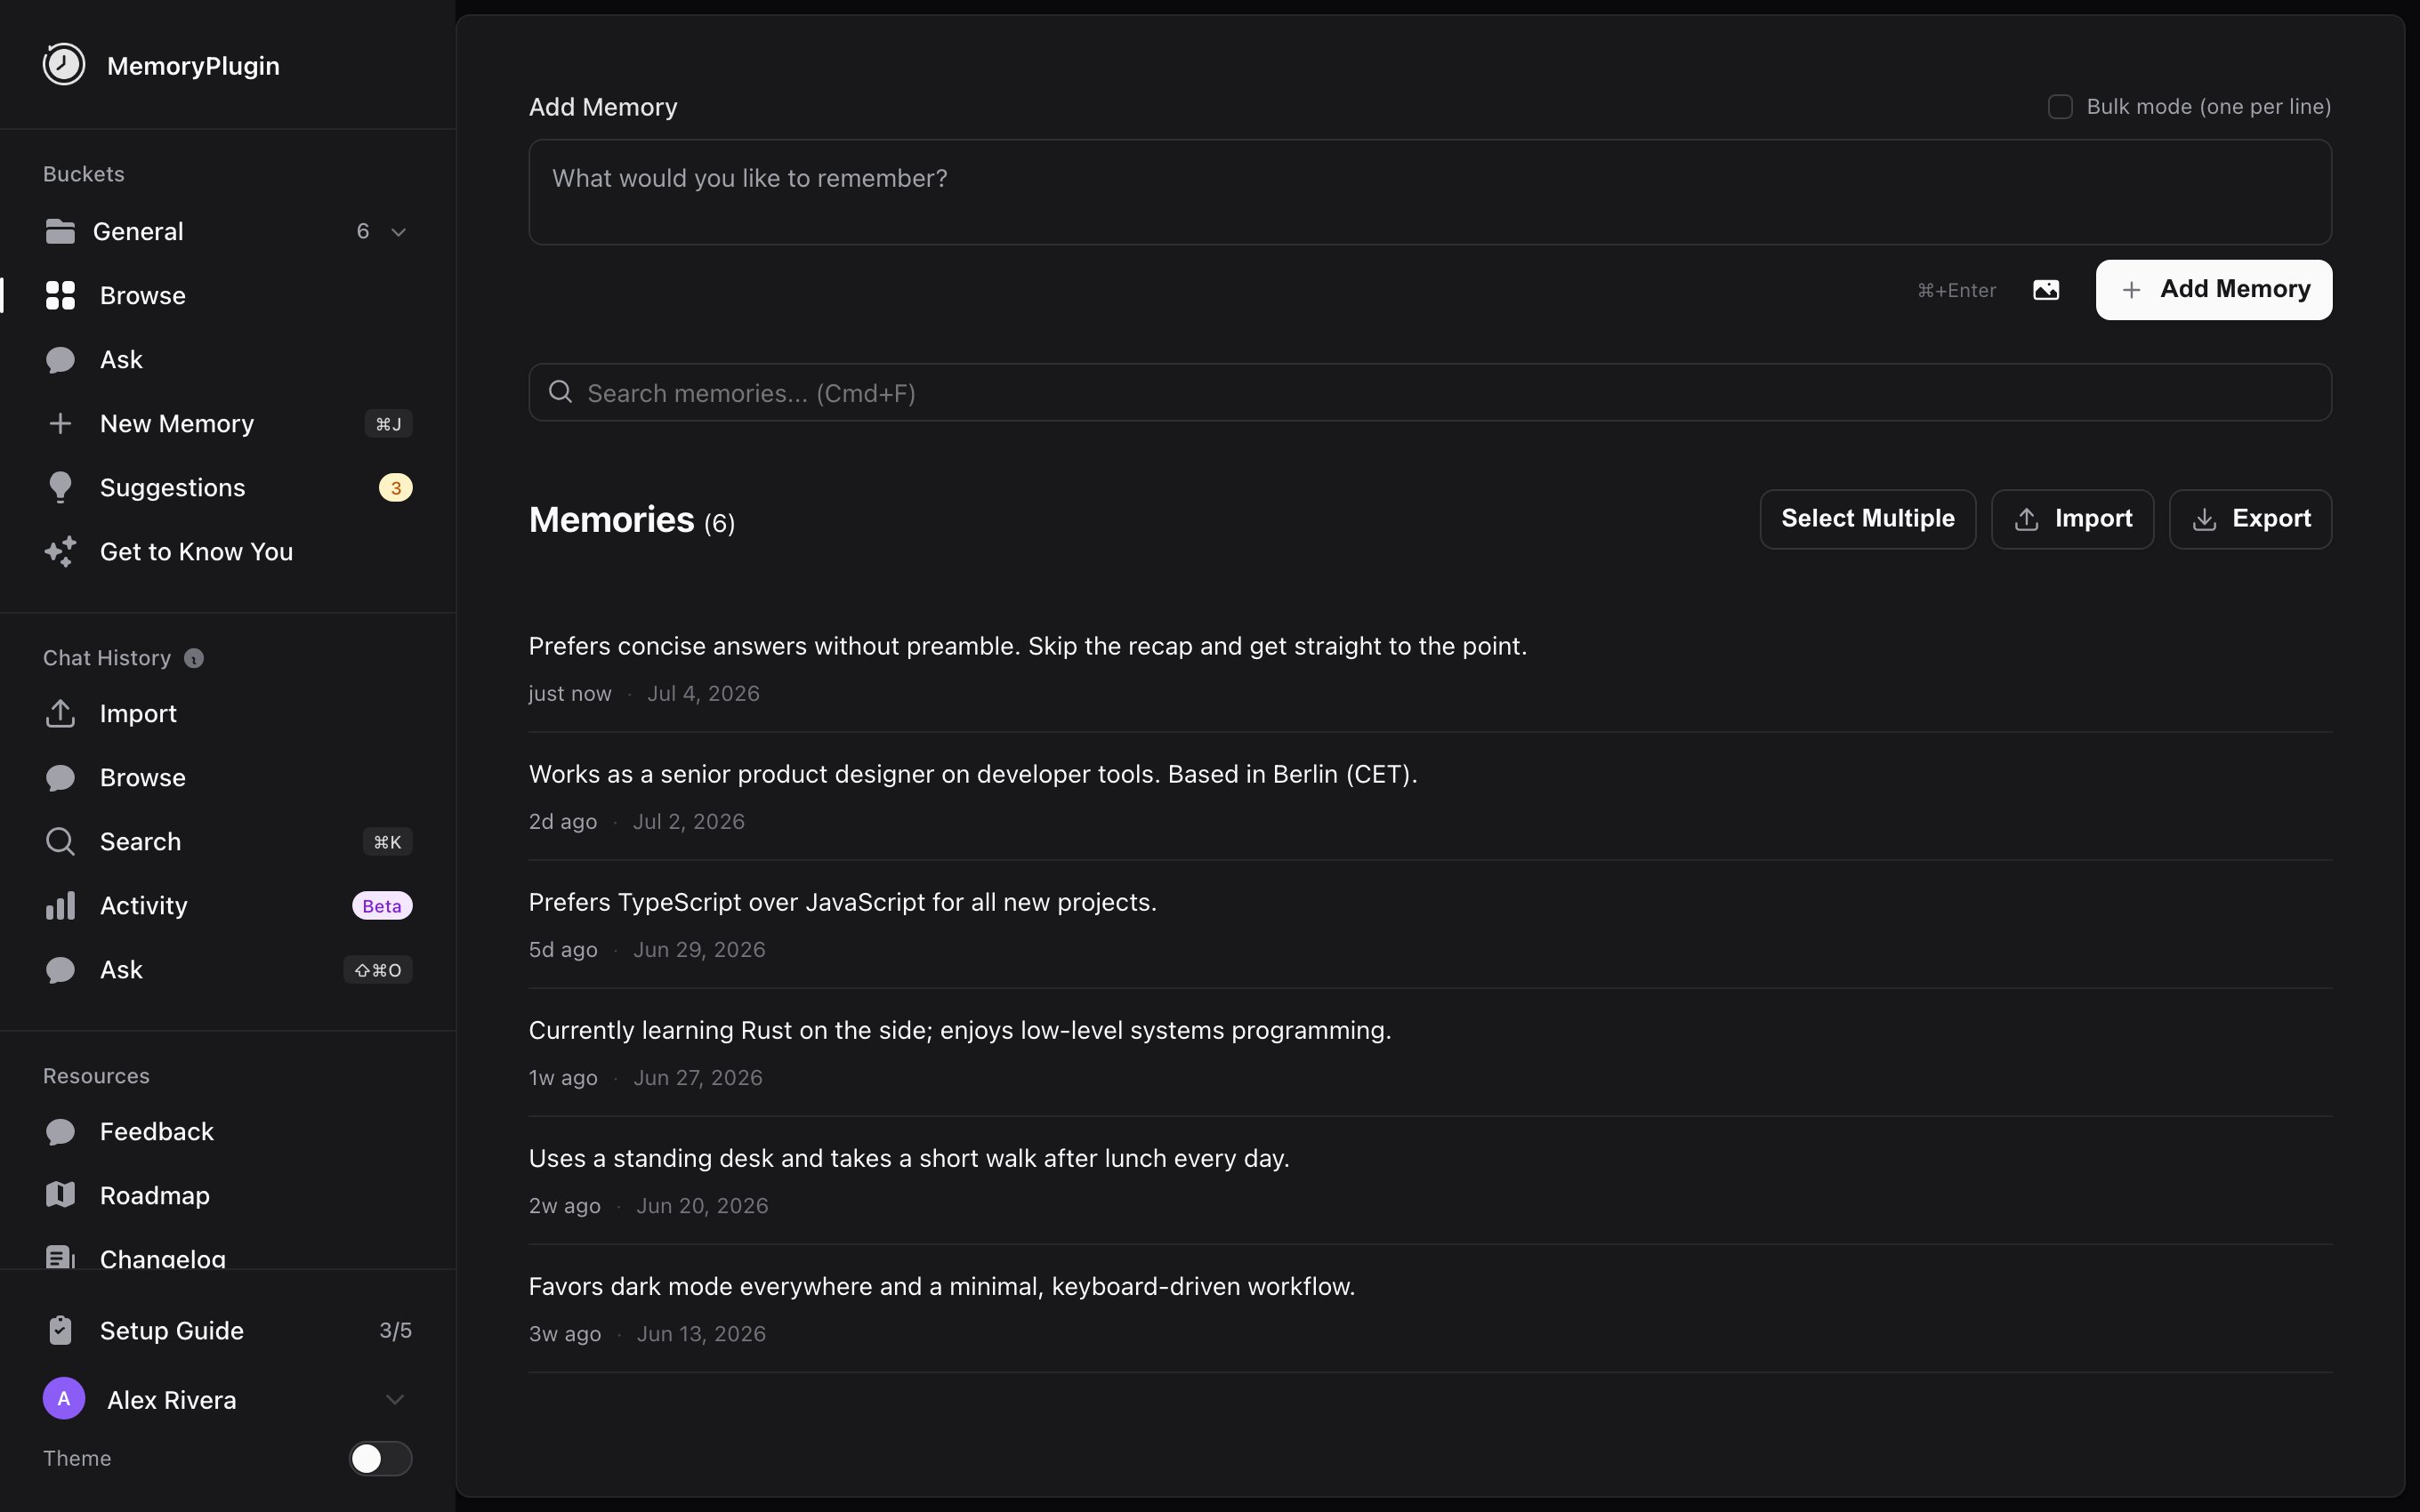
**How much can I store?**
Store as much as you need—there are no artificial limits on memory storage.

**Is my data private?**
Yes, your memories, chat history, and files are private and only accessible by you.

**Can I delete memories?**
Yes, you have full control through the dashboard.

**Does it work on mobile?**
Yes! The browser extension works on iOS Safari and [Quetta Browser](https://play.google.com/store/apps/details?id=net.quetta.browser) (Android), TypingMind plugin works on mobile, and the dashboard is mobile-friendly.

## Next Steps

<CardGroup cols={2}>
  <Card title="Understand How It Works" icon="gear" href="/getting-started/how-it-works">
    Learn the technical details of how MemoryPlugin operates
  </Card>

  <Card title="Choose Integration" icon="plug" href="/integrations/overview">
    Pick the integration method that works best for your setup
  </Card>
</CardGroup>
