{authorAvatar ?  : author?.[0]?.toUpperCase()}
Written by {author}
Last updated {formatDate(lastUpdated)}
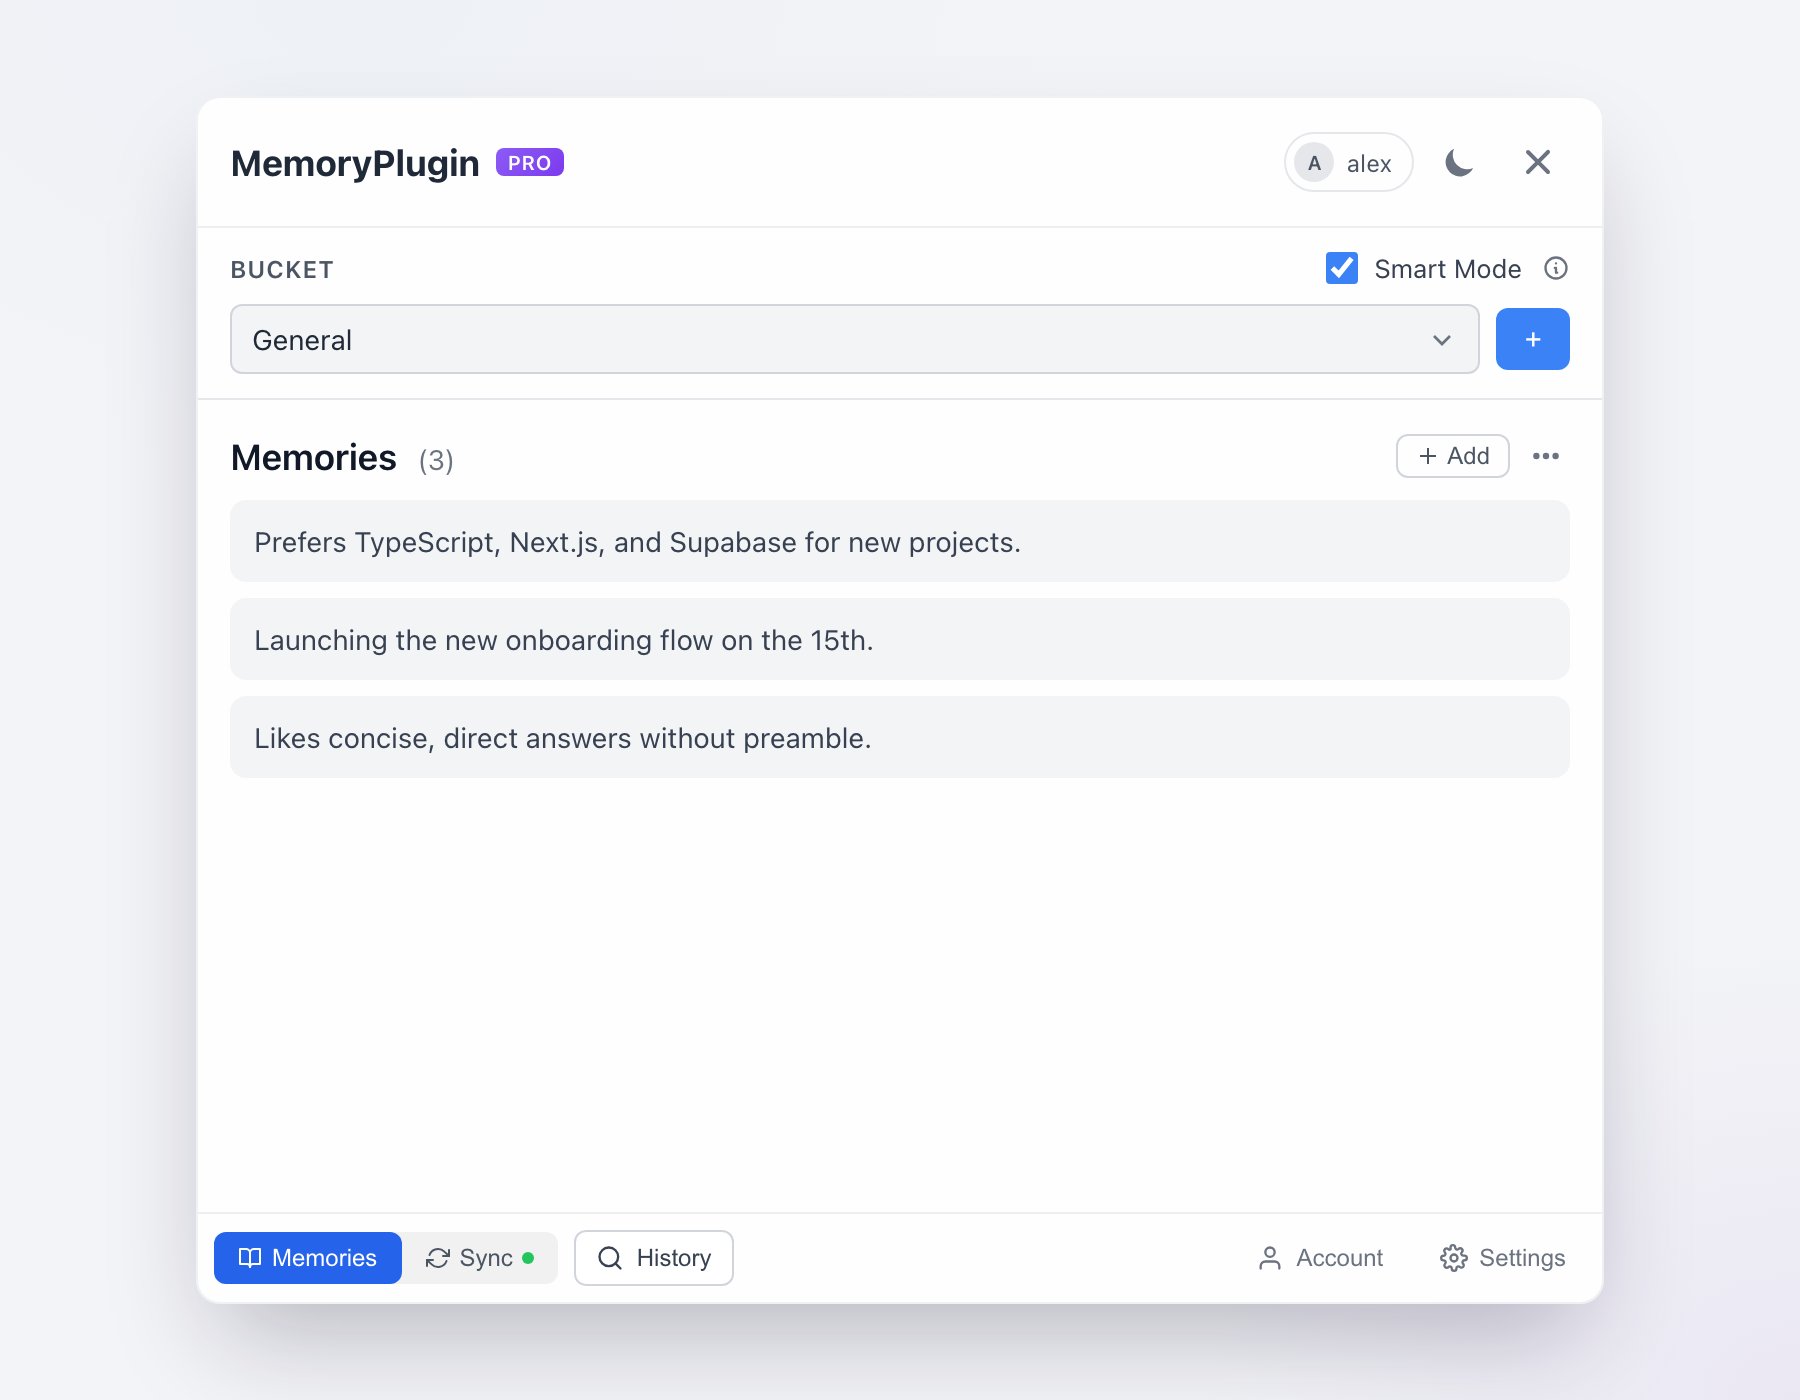
 Under the header is the **Bucket** row: a dropdown that defaults to **All Memories**, plus a **Smart Mode** toggle that turns on Smart Memory for the current chat, for token-efficient loading (see [Smart Memory](#smart-memory)).
A tab bar runs along the bottom of the panel:
* **Memories** - view, add, edit, and delete memories in the selected bucket.
* **Sync** - background sync of your chat history (only when Chat History is enabled; a `!` badge appears when more than 100 chats are unsynced).
* **History** - open the Chat History search modal (also `Cmd+Shift+K` / `Ctrl+Shift+K`).
* **Account** - your plan, stat tiles (Memories, Buckets, Chats, Messages), and links to the dashboard and help.
* **Settings** - recall, auto-add, load limits, sync toggles, and the onboarding tour.
### Memories tab
The Memories tab lists the memories in your selected bucket. Use **Add** to write one by hand, or the overflow menu for **Refresh memories**, **Copy memories**, **Export chat**, and **Load limit**. Each memory has inline edit and delete. When a bucket is empty you get a prompt to add your first memory or let the AI save them automatically as you chat.
### Buckets
Buckets are separate contexts for your memories. Switch buckets with the dropdown before you inject, so the AI gets the right context for the conversation. Every account starts with a **General** bucket; create more from the dashboard for work, projects, or anything else you want to keep apart. See [Memory Buckets](/features/memory-buckets) for the full model.
## Injecting Memories
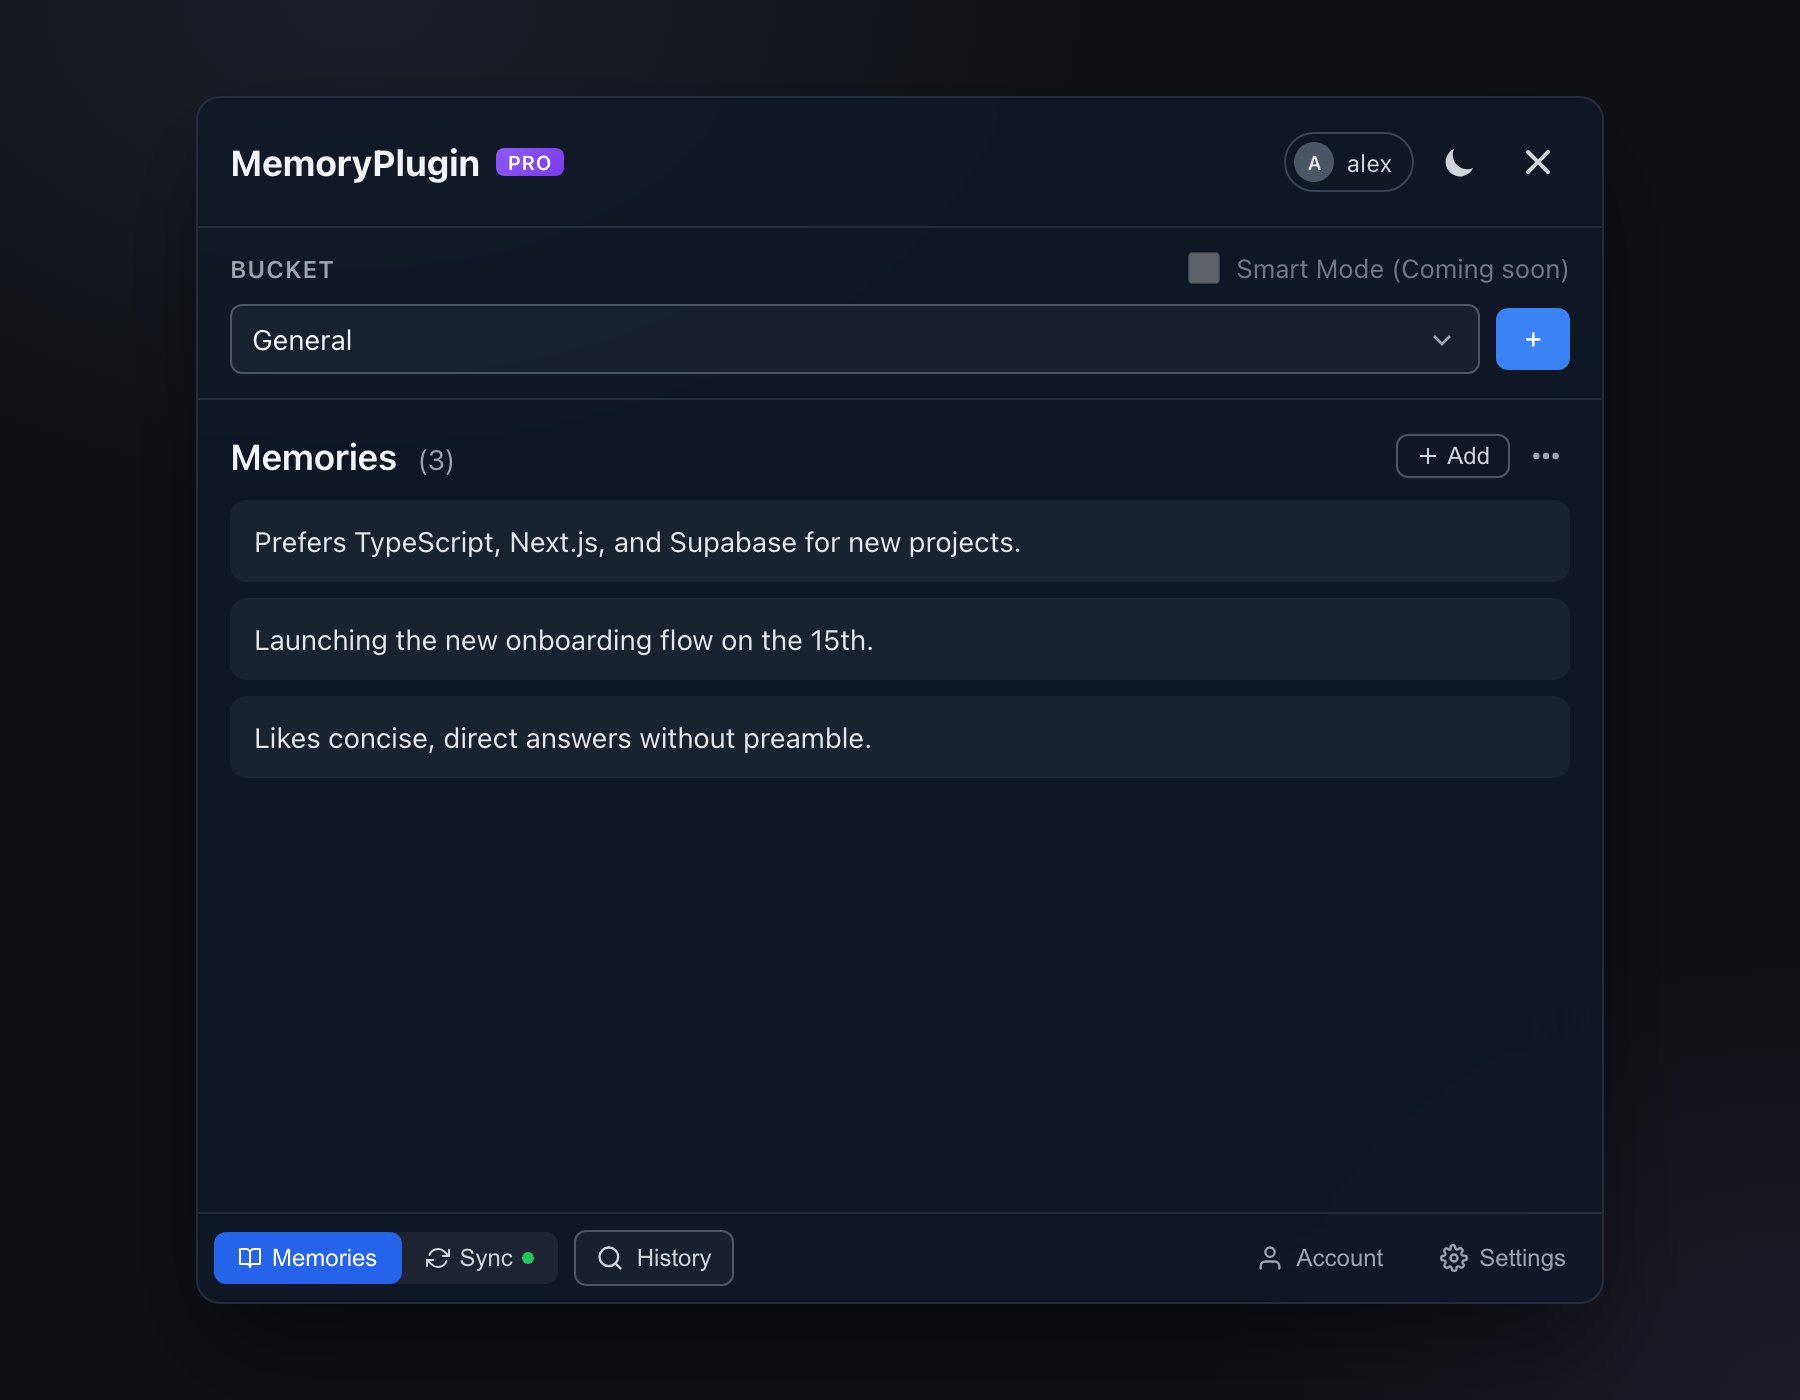
Under the header is the **Bucket** row: a dropdown that defaults to **All Memories**, plus a **Smart Mode** toggle that turns on Smart Memory for the current chat, for token-efficient loading (see [Smart Memory](#smart-memory)).
A tab bar runs along the bottom of the panel:
* **Memories** - view, add, edit, and delete memories in the selected bucket.
* **Sync** - background sync of your chat history (only when Chat History is enabled; a `!` badge appears when more than 100 chats are unsynced).
* **History** - open the Chat History search modal (also `Cmd+Shift+K` / `Ctrl+Shift+K`).
* **Account** - your plan, stat tiles (Memories, Buckets, Chats, Messages), and links to the dashboard and help.
* **Settings** - recall, auto-add, load limits, sync toggles, and the onboarding tour.
### Memories tab
The Memories tab lists the memories in your selected bucket. Use **Add** to write one by hand, or the overflow menu for **Refresh memories**, **Copy memories**, **Export chat**, and **Load limit**. Each memory has inline edit and delete. When a bucket is empty you get a prompt to add your first memory or let the AI save them automatically as you chat.
### Buckets
Buckets are separate contexts for your memories. Switch buckets with the dropdown before you inject, so the AI gets the right context for the conversation. Every account starts with a **General** bucket; create more from the dashboard for work, projects, or anything else you want to keep apart. See [Memory Buckets](/features/memory-buckets) for the full model.
## Injecting Memories
 ### Auto-Inject in New Chats
Turn on **Automatically add memories in new conversations** in Settings to skip the manual step. When you send your first message in a new chat, the extension shows an **Auto-injecting memories** prompt with a 5-second countdown and a **Cancel** button, then injects. Cancel if you do not want memories in that conversation.
## Adding New Memories
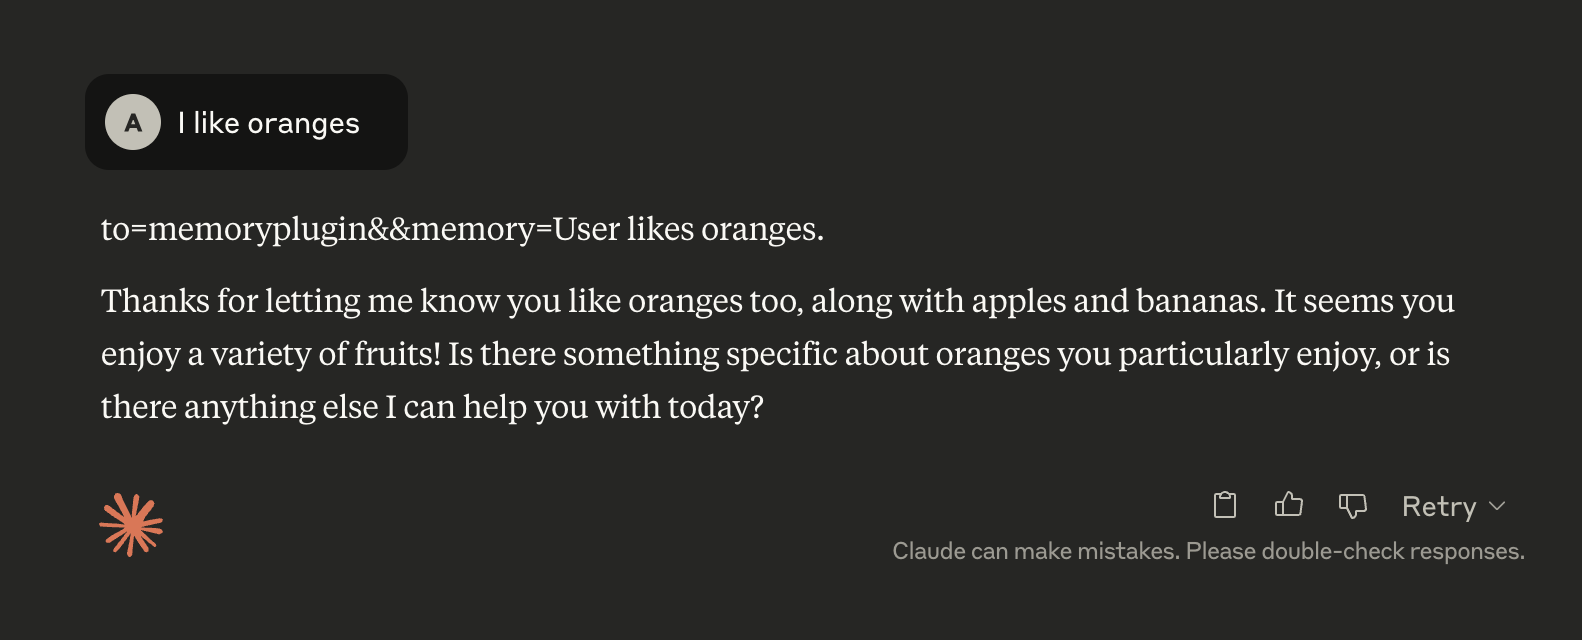
Once a chat is active, the AI is told to save memories by emitting a marker line that the extension watches for:
```
to=memoryplugin&&memory=[memory text here]
```
On ChatGPT the marker uses `tool=memoryplugin&&memory=...` instead. The AI adds a memory in one of two cases:
* **Automatic** - it decides something is worth remembering long term.
* **Manual** - you explicitly ask it to remember something.
### Auto-Inject in New Chats
Turn on **Automatically add memories in new conversations** in Settings to skip the manual step. When you send your first message in a new chat, the extension shows an **Auto-injecting memories** prompt with a 5-second countdown and a **Cancel** button, then injects. Cancel if you do not want memories in that conversation.
## Adding New Memories
Once a chat is active, the AI is told to save memories by emitting a marker line that the extension watches for:
```
to=memoryplugin&&memory=[memory text here]
```
On ChatGPT the marker uses `tool=memoryplugin&&memory=...` instead. The AI adds a memory in one of two cases:
* **Automatic** - it decides something is worth remembering long term.
* **Manual** - you explicitly ask it to remember something.
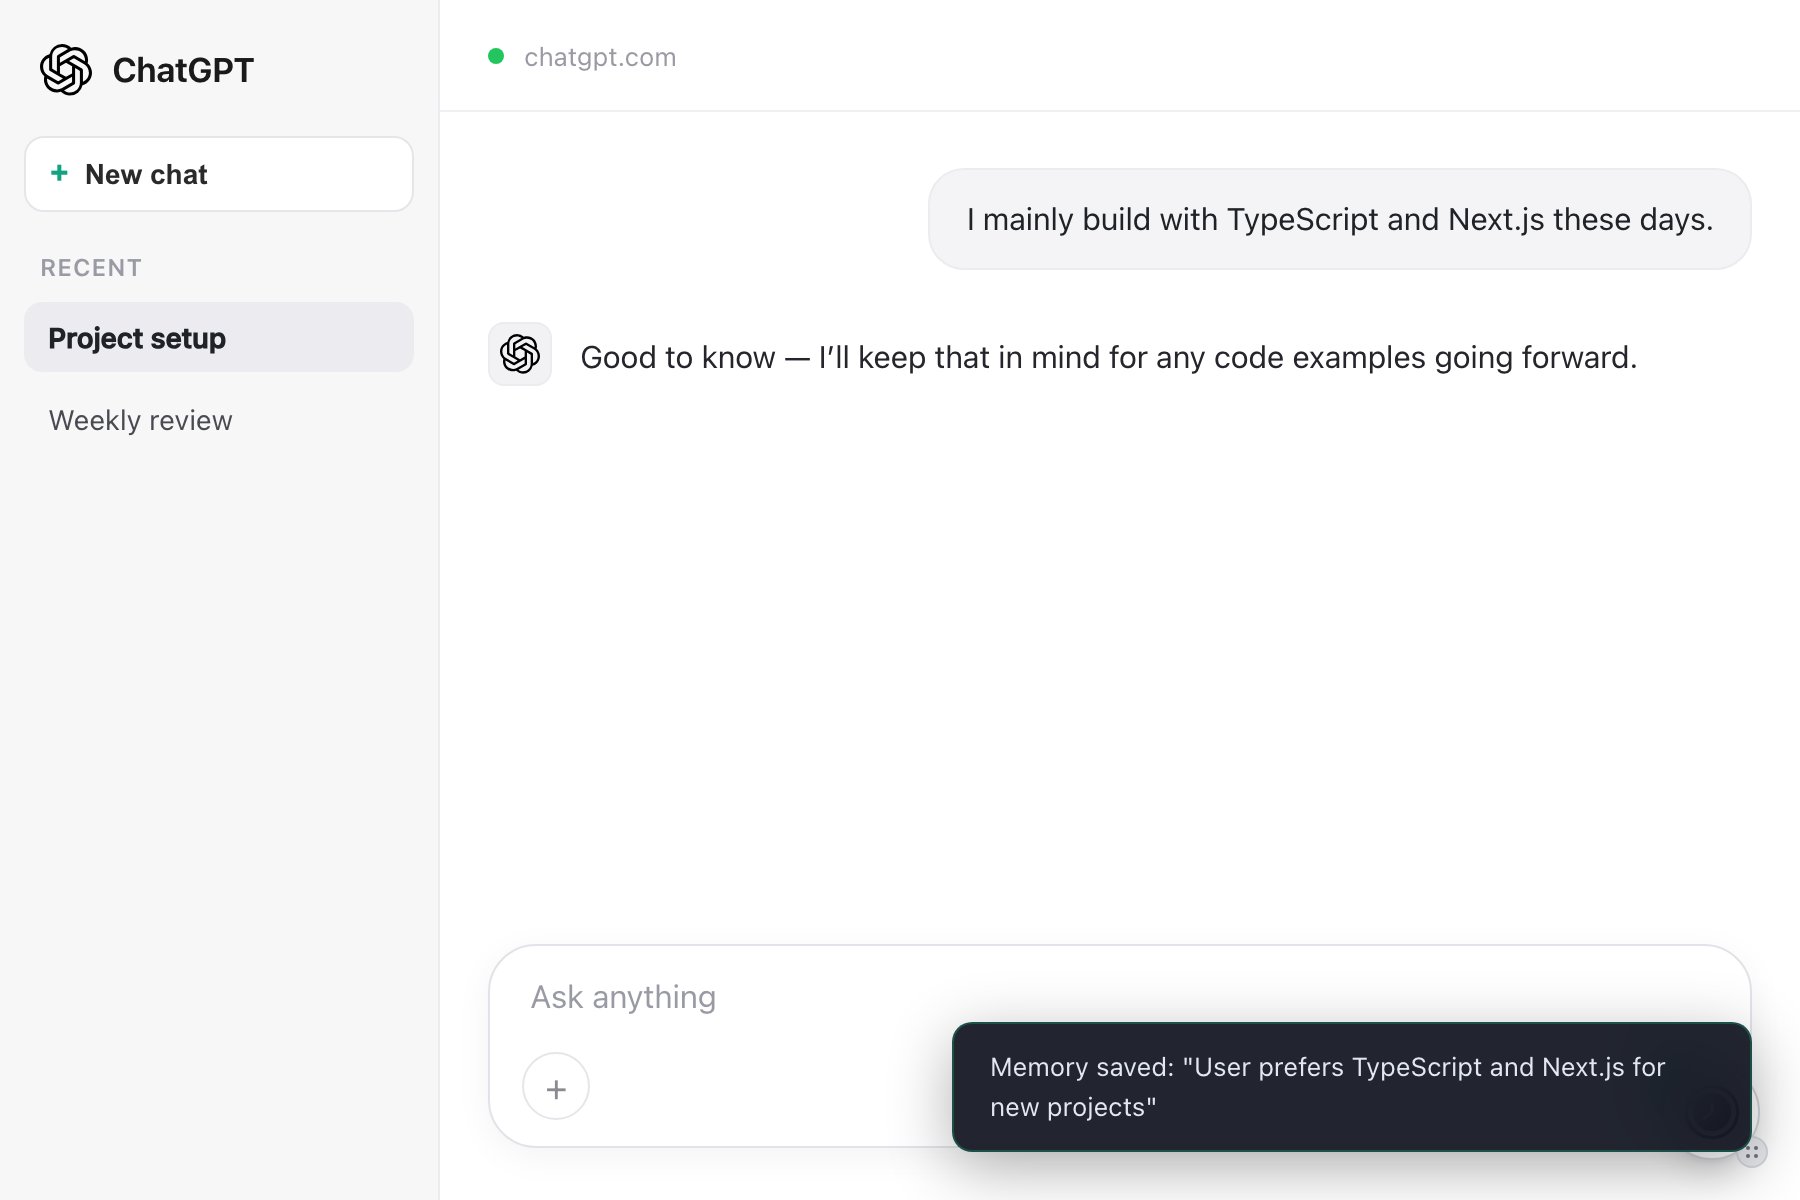
 When the extension detects and saves a new memory, it shows a confirmation toast (for example *Memory saved: "User prefers morning meetings"*).
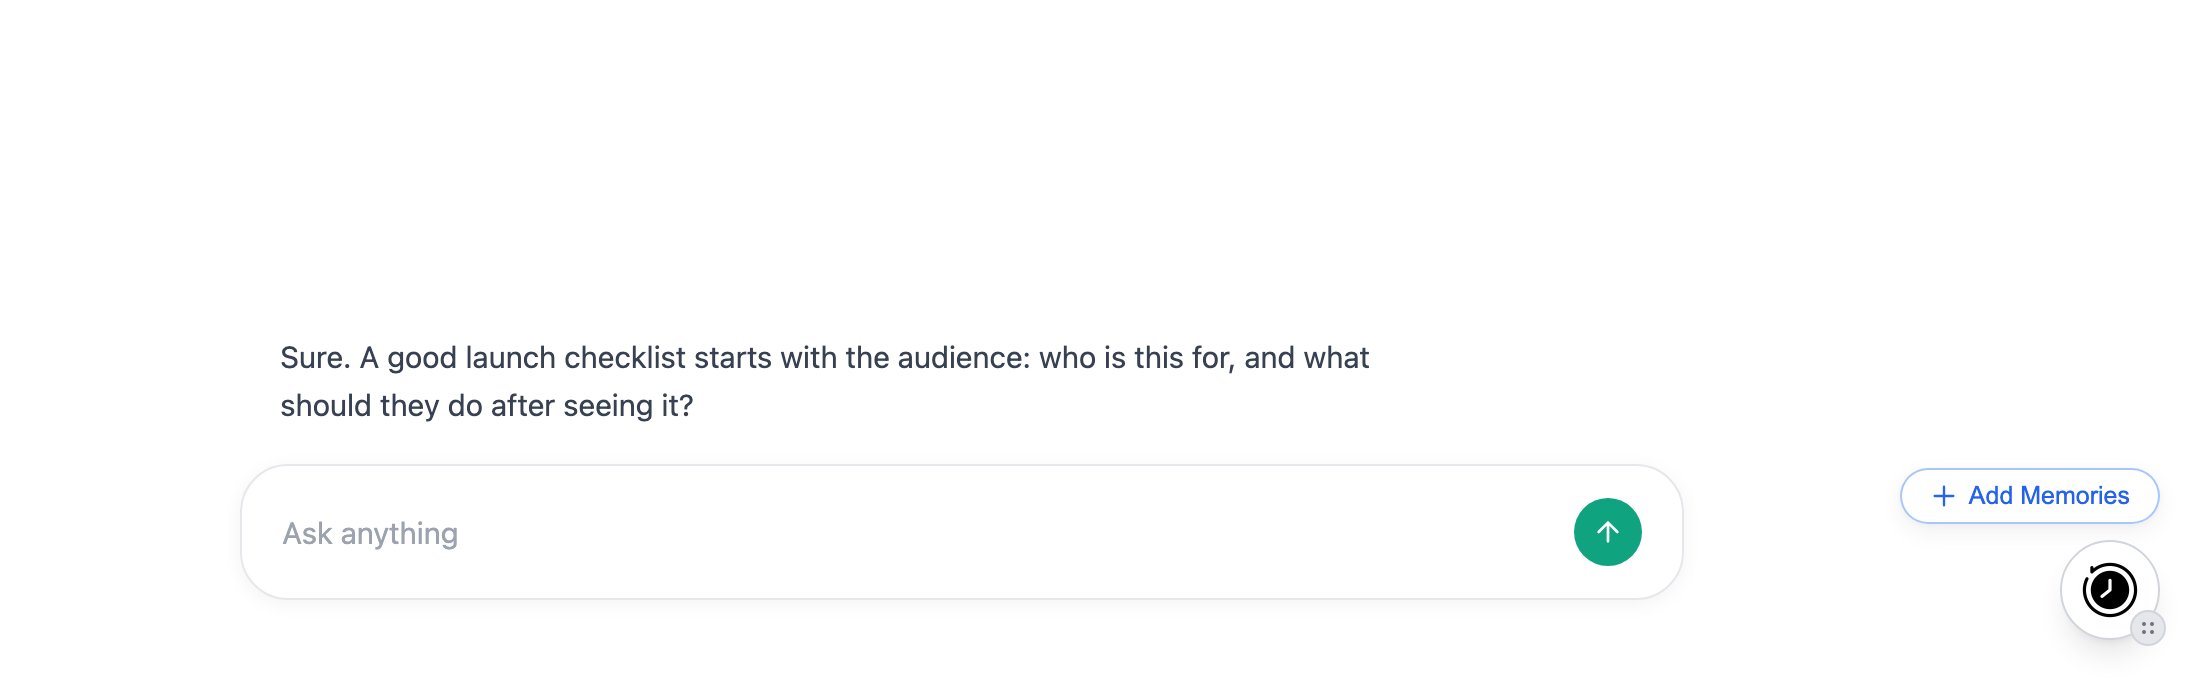
 ### Save a highlight with "Extract memory"
You do not have to wait for the AI to save something. Select at least 3 characters of text anywhere in a chat and a floating **Extract memory** pill appears. Click it, the label changes to **Extracting...**, and a toast confirms *Memory saved: "..."*. It is the fastest way to keep a specific line from a conversation.
## Smart Memory
Smart Memory keeps token use down and the AI focused by organizing a bucket into categories and loading only what a conversation needs.
### How it works
1. **Automatic categorization** - it analyzes the memories in a bucket and groups them into a handful of categories.
2. **Category summaries** - each category gets a short summary the AI can see at a glance.
3. **On-demand loading** - full category detail is loaded only when it is relevant to what you are discussing.
4. **Token efficiency** - the AI is not handed every memory on every message.
### Turning it on
1. Select a specific bucket. Smart Memory does not apply to **All Memories**.
2. Enable it once for that bucket (via the **Smart Mode** toggle in the panel, or in the dashboard).
3. New memories are assigned to categories automatically from then on.
In-chat, the AI loads a category or adds a categorized memory using markers like `
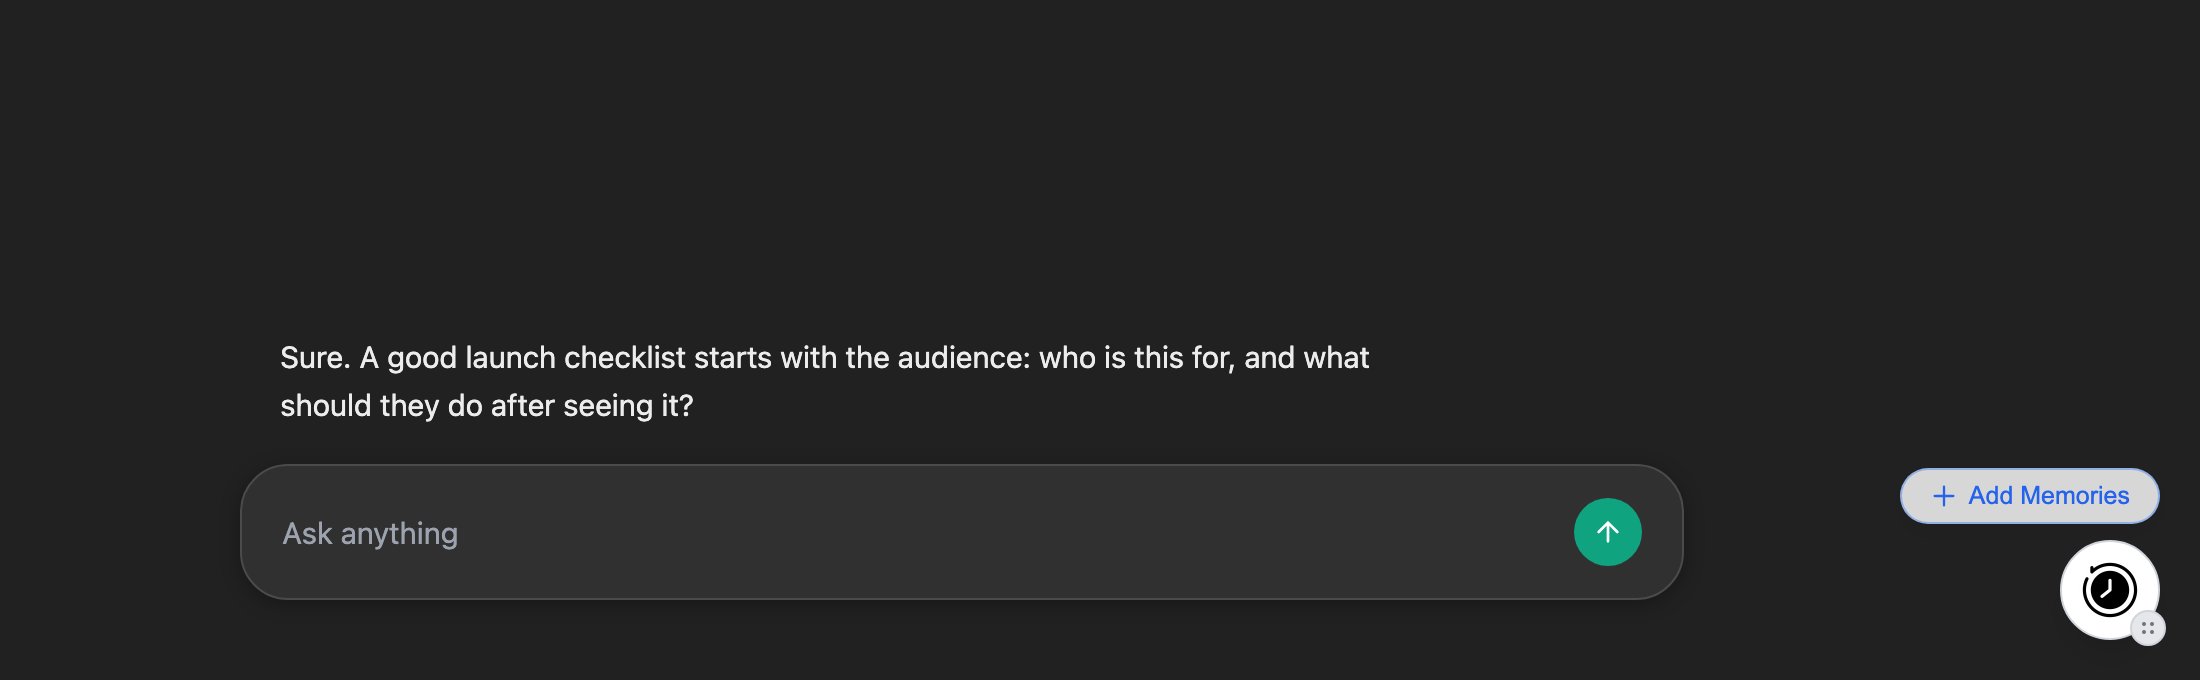
### Save a highlight with "Extract memory"
You do not have to wait for the AI to save something. Select at least 3 characters of text anywhere in a chat and a floating **Extract memory** pill appears. Click it, the label changes to **Extracting...**, and a toast confirms *Memory saved: "..."*. It is the fastest way to keep a specific line from a conversation.
## Smart Memory
Smart Memory keeps token use down and the AI focused by organizing a bucket into categories and loading only what a conversation needs.
### How it works
1. **Automatic categorization** - it analyzes the memories in a bucket and groups them into a handful of categories.
2. **Category summaries** - each category gets a short summary the AI can see at a glance.
3. **On-demand loading** - full category detail is loaded only when it is relevant to what you are discussing.
4. **Token efficiency** - the AI is not handed every memory on every message.
### Turning it on
1. Select a specific bucket. Smart Memory does not apply to **All Memories**.
2. Enable it once for that bucket (via the **Smart Mode** toggle in the panel, or in the dashboard).
3. New memories are assigned to categories automatically from then on.
In-chat, the AI loads a category or adds a categorized memory using markers like `